Advice on restoring a Rover 6hp
Monday, March 1st, 2010
Some advice for anyone contemplating restoring a Rover 6hp, based on my experience of completely rebuilding car and on my many years of experience in maintaining, restoring and adapting a wide variety of machinery.
NOTE: MY RESTORATION WAS OF A FAIRLY EARLY 6HP. WHERE I KNOW OF DIFFERENCES IN LATER MODELS I HAVE MENTIONED THEM, BUT THERE MAY BE OTHERS THAT I HAVE NOT YET COME ACROSS.
Front Axles: Crack test the stub axles. On the earlier cars it is best to replace these if the car is to be driven, on later cars they seem to be made of better material and may be OK. This applies to the connecting rods as well.
Steering Rack: Check the alignment. Strengthen the mounting bracket to prevent damage to the engine bearer.
Engine and Gearbox:
a) Removal of cylinder block: Early cylinders are held on with non-captive through bolts, which also retain the main bearings. To ascertain whether the bolts are captive or not first look at the protruding bolts, if you have non-captive bolts these should have screwdriver slots. You should also check by loosening (but not removing) one of the barrel bolts until the nut is attached by a few threads and then tapping the bolt down. If the bolt is captive it will not drop, if it does drop you must remove the complete engine and gearbox and invert it before disassembling , starting at the base.
b) Water pump: Replace the water pump shaft with a stainless steel one. If a shaft is swelled with rust it will wear the housing and may seize. Check that the square drives are still intact.
c) Timing wiper: The timing wiper shaft tends to wear due to electric erosion so isolate the wiper and add a separate earth. Check the brass bevel gears as these also suffer electric erosion.
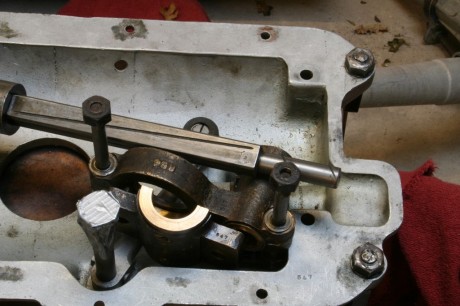
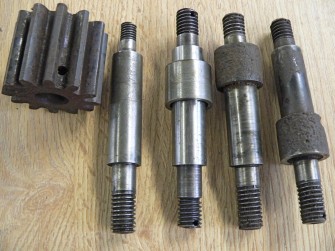
d) Cam Shaft: On the cam shaft the separate cams can come loose. This complete unit may be removed as a whole. First remove the water pump, then the valves and lastly all the 3/16 x 32 thread bolts. (If the threads of the bolts are damaged a little they can be helped by putting in 5 mm by 0.8 pitch bolts, which are the closest available, only a few thou bigger and only one thread per inch different.) The bronze housing can now be lifted out so that it can be worked on if necessary. Note that the cam shaft is driven by the crank shaft via an idler gear which is held in place by a left handed threaded stud screwed into the main bearing
e) Crank shaft: This is held in place with through-bolts, as in modern practice. You must not try to remove the cylinder barrel without first removing the engine from the car and inverting the unit. If you did the 42 lb flywheel could strain the clutch shaft. The two crank shaft bearings don’t seem to wear. If the main bearings are worn hard chrome the crank and hone the bronze bearings. The big end is white-metalled. Note that the crank shaft end float should not really be more than 10 thou. Do not restrict the this end float by adjusting the front drive gear, the crank isn’t stiff enough to take the thrust forces from the clutch, instead build up the rear main bearing.
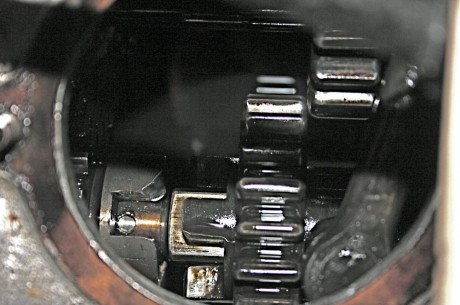
f) Many cars have been put back on the road or run without any thought or care about what is happening to the internal parts of the engine. This neglect can cause rapid wear such as happened to my front timing gears. If the engine uses oil at a rate of more than a pint to 100 miles after it has be drained and filled with five pints of oil, and also smokes heavily with this amount of oil in, there is a risk of the timing idler gear running dry of oil and seizing because of the rapid depletion of oil. There is also a risk of rapid wear taking place due to lack of oil being fed to the front main bearing, which needs a sufficient quantity of oil to spill over and keep the gears lubricated.
Sometimes people use large quantities of plastic gasket when refitting the sump, this is bad engineering practice – small pieces of gasket material can easily block the pipes. The gears are very basic but it takes a considerable amount of work to achieve the correct amount of backlash, which should be no more than 4 to 5 thou between all three gears. Very accurate measurements must be taken between the crank, idler and camshaft before any gears are made.
g) Piston: The original Rover piston would have been 95 mm bore (97 mm on later cars). I have used a piston for a 1920’s Austin 4 cylinder 20 hp, bore size 2¾″. The gudgeon pin is ⅞″ and can be bushed to ¾″, it is 100 thou too tall but a spacer under the cylinder barrel will keep the compression correct. A second-hand cast iron Austin piston would probably be a similar weight to the original, but a new aluminium one would be much lighter, so the engine would have to be re-balanced. An Austin piston would have an oil control ring, which can be beneficial.
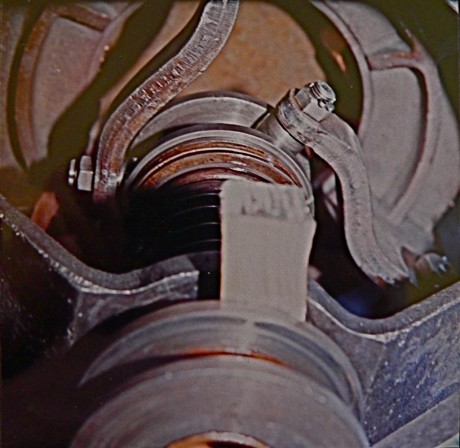
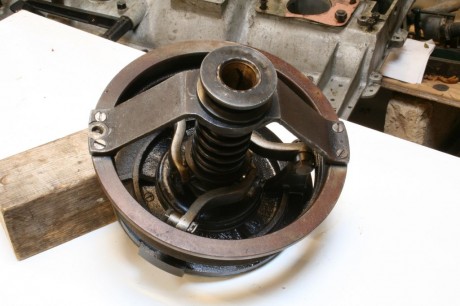
h) Clutch: This is very long lasting, but it can be damaged if the proper steps are not followed when taking it apart. The yoke can be broken if the pressure isn’t released correctly before removal, depress the clutch pedal, insert a spacer between the end of the yoke and the withdrawal disc and release the pedal. The spacer will then be held in place and all pressure will be released from the mechanism. This will also allow disassembly or adjustment of the very large disc screwed into the flywheel for clutch plate adjustment.
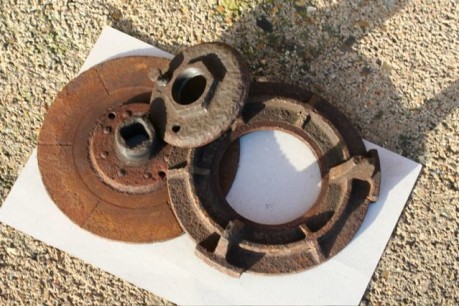
The clutch plates are metal and must not have linings fitted. If the clutch drags a lot there is probably too much oil in the clutch compartment, run the engine for some time to equalize the oil levels. Check the clutch faces, there should be several holes in the clutch plate to allow air in so that it can release (later clutches have a positive withdrawal plate, and the clutch disk has slots as well as holes). The three small rollers on the pressure plate arms may stop rotating and wear flats. If they are all the same, and are not doing other damage, this is not serious. There is a ball-bearing thrust at the plate end of the large spring, which should rotate without roughness.
i) Gearbox: The two uncaged ball bearings can have new balls fitted if the races are sound. The rear bronze bearing carrier can be strained by over-adjustment and by the over-use of the transmission brake. On early cars with round shafts these can be replaced easily if necessary, later cars have square drives that take more machining. There is very economic use of same-sized gears throughout the box. On early cars the main shaft has a long key that may be held in place with set screws; this is bad practice as keys will always move so the screws will loosen or break, locking the gear in one position. Since the key cannot escape, it is better to rivet it in by using small dovetails (the later cars had square shafts throughout).
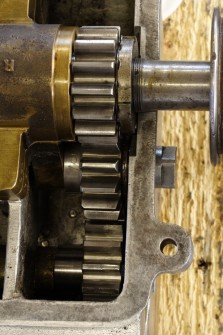
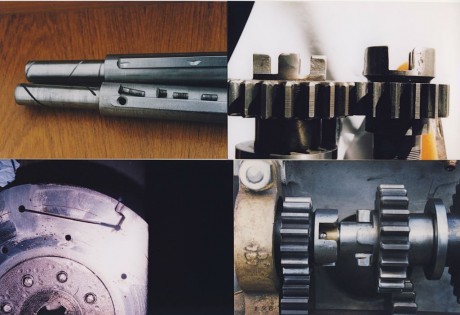
The top gear dogs, although very long lasting, do wear eventually. The early ones are longer lived as the same material was used for the main shaft dogs and the sliding dogs. On the later ones the sliding dogs were case hardened and left rough machined, because of this they cause greater wear on the main shaft dogs. If the early type need repair build up the driving side of each set of dogs using a hard facing material that is still slightly ductile (I used Oerlikon Hardfacing 600). To repair the later type you will probably only need to build up the main shaft dogs, as the sliding ones do not normally wear but you do need to lap the surfaces of the sliding dogs smooth to minimise further wear. CAUTION: In every case the radius on the dogs MUST be correct, too sharp a radius causes snatch engagement, too large a radius will cause camming out. The correct radius for the driving side of both dogs is 1/16 inch, on the over-running side the radius should be between 3/32 inch and 1/8 inch. When the dogs only look slightly worn (i.e. a 1/8 th radius) the sliding member would still need to travel 1/4 inch for safe engagement, which is about half the length of the dogs.
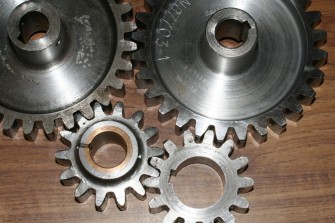
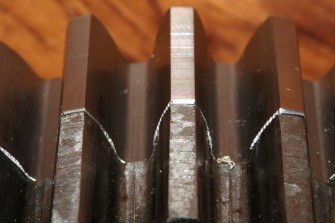
The first photograph below shows early dogs that have been built up (top right) and the same dogs before they were built up (bottom right). The third photograph shows badly worn later type dogs, note the excessive wear to the soft main shaft dogs and minimal wear to the sliding dogs.
aaaaaaaaaaaaaaaaaaaaaaaaaaaaaaaaaaaaaaaaaaaaaaaaaaaaaaaaaaaaaaaaaaaaaaaaaaaaaaaaaaaaaaaaaaaaaaaaaaaaaaaaaaaaaaaaaaaaaaaaaaaaaaaaaaaaaaaaaaaaaaaaaaaaaaaaaaaaaaaaa
Rear Axle: This is the only really serious weakness that these cars have. On cars with the earlier axles, there is definitely a point of safety to be considered here. The brake anchors are fitted into the cast alloy ends, these anchors break and, in doing so, twist the brake shaft, breaking pieces out of the centre casing. The axle ends can be turned and sleeved in steel. I also fitted oil seals. On later cars the axles had steel clamps, these seem to work well.
Another weakness is the studs holding the torque tube, which can pull out of the axle. Mine had been poorly repaired and had left the axle casing in a poor condition. Here I made a design change, as I felt this was the only way to preserve the axle. I made a very short pinion shaft and housing, replacing the torque tube with a prop shaft and two universal joints. This puts the braking and drive force through the springs and takes the strain off the gearbox, which is of a lighter construction than those on later cars.
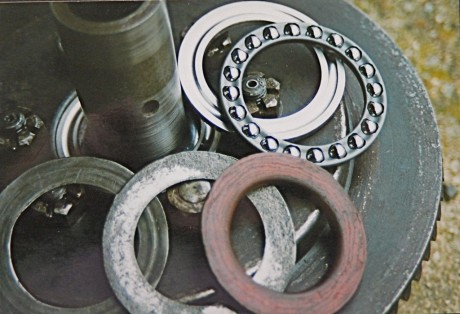
The gears and shafts are of a very heavy construction, considering the horsepower of the engine, but if the torque tube has pulled out at some time I would expect some damage to the crown wheel and pinion. I have had a new pinion made and managed to preserve the original crown wheel. A new crown wheel would be very expensive and difficult to make because it has a thin section that means it is difficult to harden without distortion. Behind the crown wheel there should be a ball bearing thrust, mine had parts left but the ball race had gone.
Someone had fitted very rusty, bent washers to take up the space of the missing parts, which had scoured the diff casing. I found a modern bearing that was close to being an exact fit, but which was a few millimetres wider, a few millimeters were removed from the case to accommodate this. The later axle, which I recently acquired, had been given a similar repair to that first done to mine, but to a higher standard. When I rebuilt my axle there was evidence that a differential pin had broken at one end. This end was only ⅜″ while the other end was ½″ so I increased the smaller end to ½″. When I got hold of a later axle I found that this modification had already been made, and that the oiling of the bearings had also been modified. Oddly enough, the early pins have loose spacers for the gears and the pin themselves were all the same whereas the later type have an integral spacer, which means the pins must be made handed. The differential is a four-pinion spur gear type, similar to those used by Darracq and Argyl. If you have pins with a ⅜″ end it is advisable to replace them since, if they do break, they make an awful mess on the aluminium casing.
aaaaaaaaaaaaaaaaaaaaaaaaaaaaa
Rear Springs: These are always very weak, having only four leaves, and the differential casing hits the woodwork. I found that a spring from a 1950-60 Alvis TA21 or TA14 were the same thickness and width, they are also have the same manufacturer as the Rover springs, Woodhead of Leeds, who only ceased trading a few years ago. The Alvis springs can be bent cold, which is not possible with the old Rover springs.
Adding an extra leaf greatly improved the ride-height. Something must have been strengthened on later cars as a single dickey seat was supplied as an extra, increasing the weight behind the axle.
Oil Level: This is impossible to check. It is better to drain all the oil from the three compartments, then refill using 5 pints of oil. You can get away with 6 pints if the piston and rings are in good condition. (My engine, pre-restoration, used a pint in a few hundred yards!). If it stops smoking it is probably out of oil, stop and check the oil cup immediately, it must be full to the top, however, if the engine has not been running, even for a short time, the cup will be empty, so you must run the engine before checking.
If the car has been trailered or stopped sharply, oil from the gearbox section will have surged over the weir into the clutch compartment and it will, for a while, cause the clutch to drag or slip. In either of these cases run the engine for a few minutes before moving off.
There are no oil seals on the front of the crankshaft nor on the rear gearbox shaft. Some people have fitted oil seals here, but the engine must breathe, and if these seals are fitted, it will only force oil past the piston rings or out in large quantities past the tappet blocks. I do have a modification to somewhat reduce oil surges and over-oiling. If you have to dismantle the crankcase I can advise on this, if it has not already been modified, providing the crank case is the same design as mine.
In the original literature it tells you to add one pint of oil every 50 miles when new, decreasing to every 70 miles when run in. My car gets rid of oil at a rate of around one pint to four hundred miles, the majority of this simply oozes out of the engine, except when it has been doing a good deal of uphill work and oil is also lost from the rear of the gearbox.
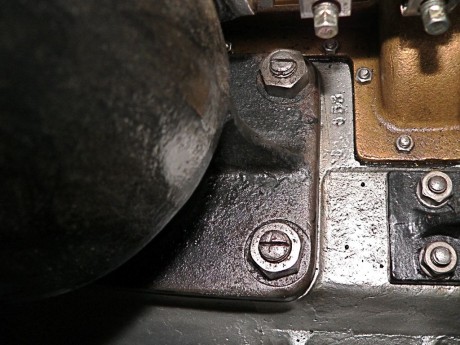
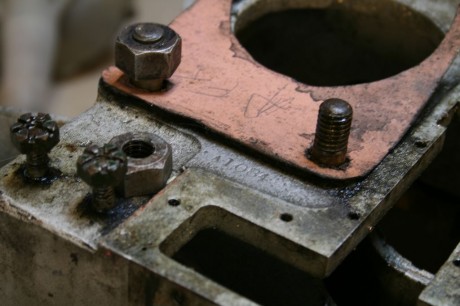
Hi have an engine rover 6hp but dont know how to date it. The number is 556. Parts seam to be very few and far apart here in New Zealand Cheers Richard