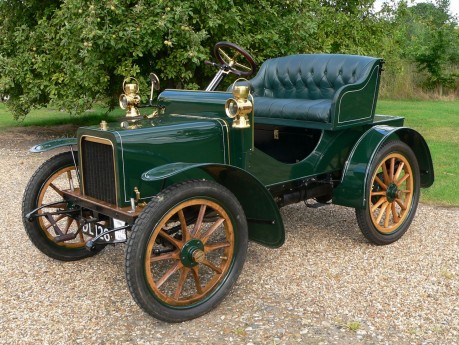
1906 Rover

A guide to 6HP Rover cars

Search

Recycle your old cam belts

November 4th, 2013

I have found a good use for those horrible rubber cam belts that otherwise get thrown away when they are changed.  I made a strap wrench out of bits of scrap metal and an old cam belt.  I put the first one together quickly without any special tools, just a hacksaw, drill, vernier callipers and a welder.  It turned out better than I expected so I then made a larger, heavy duty version.

Another progress report

September 15th, 2013

I have had a couple of bad setbacks. The crankcase that was supposed to come over in a shipment did not arrive and I do not know for sure where it is at the moment! I definitely need it to get the car on the road. The second problem has been the very poor quality of the water manifold castings that I got from Australia, they have required extensive remedial work to make them usable. they are still far from the quality I would like on the car.

a
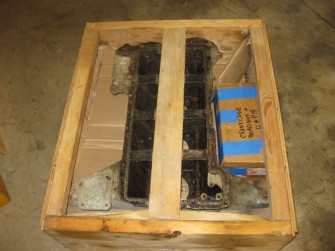
The crankcase was all boxed for shipment months ago, but still hasn't arrived

a

On a more positive note, the availability of blueprints for any part is an enormous help. I have recently used these in manufacturing a footrest, a robe rail, a magneto strap and leather traps for securing the spare tyres.

a
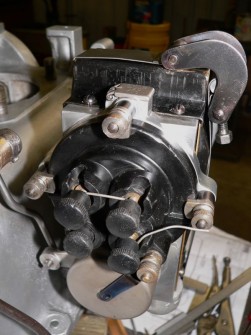
The new strap for holding the magneto in place
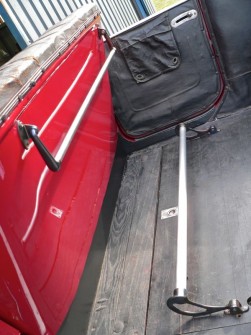
 

The new footrest and robe rail


a
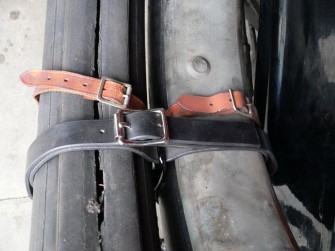
The old and new straps for the spare tyres

a

The water manifold castings that I got from Austrailia were of very poor quality and have needed extensive remedial work to make them usable.

a
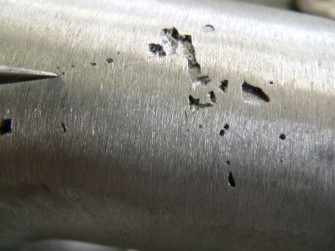
Just one of the problems with the castings
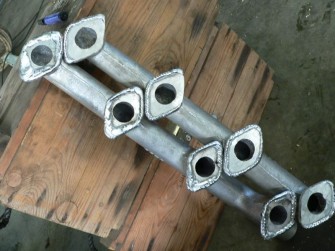
Essential remedial work to the manifold castings in progress


a


a

While repairing the brackets for the spare tyres I found, after cleaning, that the tinwork under the rear seat was full of holes and have replaced this with a new panel.

a
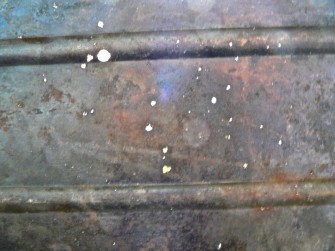
The tinwork under the rear seat was full of holes
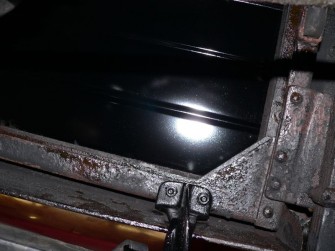
The replacement tinwork under the seat and the repair of the spare wheel carrier


a


The straps that support the weight of the hood had been nailed into the wooden framework of the rear seat, splitting the wood.  The woodwork has been strengthened and the straps will be fixed to the proper anchorage.

a
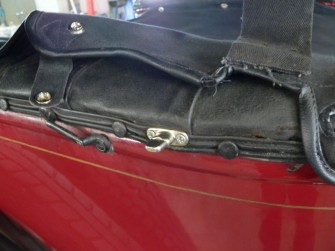
The wooden framework at the top of the rear seat has been repaired

Some parts of the magneto linkages were missing and I have had to work out the correct lengths.  The throttle linkages have been repaired.

a
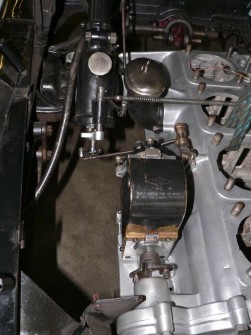
Throttle and magneto linkages

Progress update

November 10th, 2012

Here are a selection of photos showing the results of a lot of manual work on my Overland over the last three months.

A little more progress on the Overland

July 20th, 2012

Progress continues to be slow, but I have achieved a number of things over the past few months.

Progress on restoring an Overland

August 23rd, 2011

Here are  pictures showing some of the restoration work I have been doing on the Overland.  Most of the work so far has been machining replacement parts.  The white metal camshaft follower bushes had loosened and subsequently been broken in use.  The zinc die-cast of the oil pump casing and of the magneto body had degenerated badly.

We have a successor to DL 126

April 16th, 2011

On Wednesday 13th April we successfully bid for a 1915 Willys Overland Model 83 at an auction in Buxton.

A method of cleaning petrol tanks and carburettors without using nasty chemicals.

February 11th, 2011

On a number of occasions I have come across the problem of removing a tacky (or sometimes hard) brown varnish.  This residue is left when vehicles or equipment have stood unused for some years and the petrol has slowly evaporated.  I have tried a number of chemicals in attempts to remove the residue, but with little success.  I finally found that a basic non-biological liquid detergent (for washing clothes) plus hot water does the job well.

A

Carburettors:

  • Strip the carburettor, removing any gaskets and the float.  (If a float has had any damage and has got petrol inside then putting it into hot water will cause the petrol to evaporate rapidly, blowing the float apart.  Experience is a wonderful thing!)
  • Place the carburettor in a saucepan and cover it with a solution of water and detergent.
  • Bring this nearly to boiling point and leave it to stand for an hour.
  • Rinse the carburettor in clean water, using a small brush (such as an old toothbrush) to remove the residue. The residue should come off easily.
  • Use an airline to blow any residue out of all drillings.  If a jet was stuck it should now come out without damage.
  • If necessary repeat the process, soaking the carburettor again and rinsing off any remaining residue.

A

Tanks:

  • Fill the tank with a very hot solution of water and detergent.
  • Leave to stand for 12 hours.
  • Rinse well and allow to dry completely (this is very important).
  • The residue should turn whitish and go powdery so most can be blown out using an air line.  If the tank has baffles and inaccessible places it will not be possible to blow out all the particles of residue, but these are normally heavy enough to settle out in filter units and should not cause any problems.

DL 126 will soon be returning to the Isle of Wight

November 1st, 2010

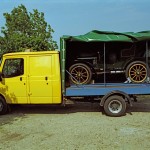
I have a buyer for the car and it will be moving shortly to its new home.  I am very pleased that the car will be going back to the Isle of Wight, where it was first registered, and hope that the new owner will get as much pleasure from driving the car as I have done.

The car will be moving along with all its trappings, which will leave a fair amount of space in my garage and workshop.  I hope that some of this space will be filled by another veteran car before the next season of motoring starts.

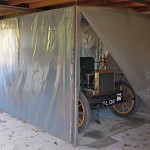
DL 126 in the 'igloo'

The car loaded on the truck

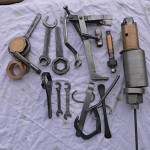
Tools made a 6hp Rover